

How to Submit an Invoice in Oracle
There are two methods of invoice submission: 1. With a Purchase Order and 2. Without a Purchase Order
Invoice submitted with a Purchase Order
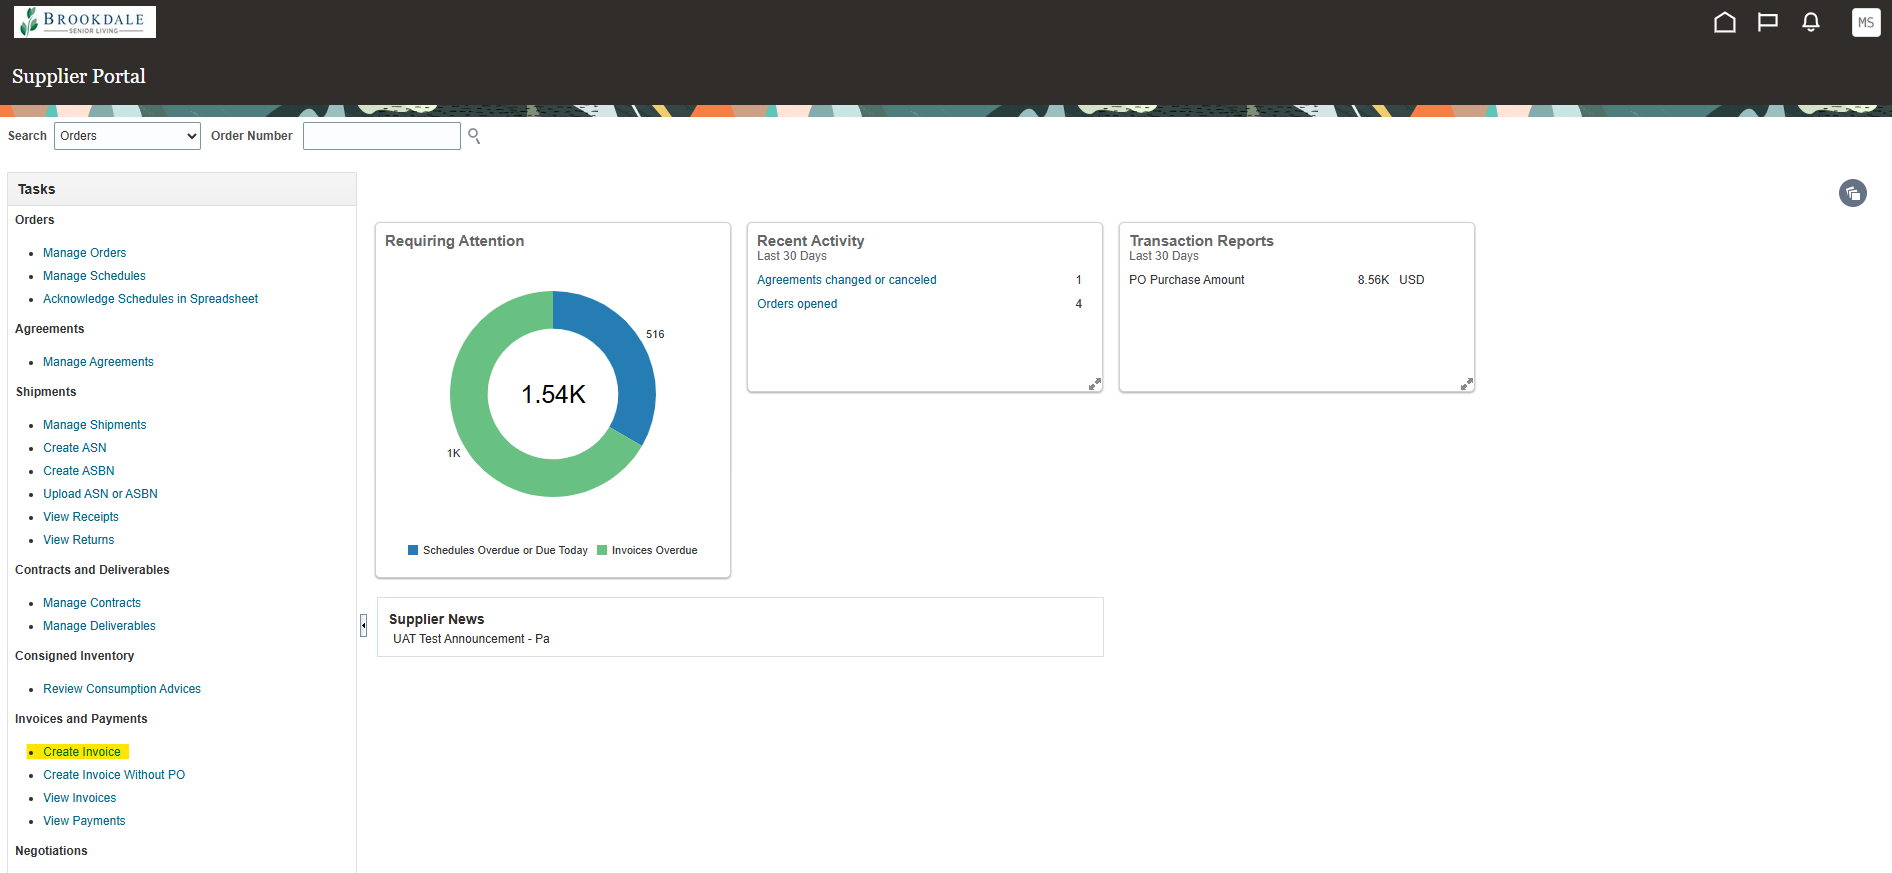
1. Log into Oracle and click on “Supplier Portal” tile.

2. Click on “Create Invoice," which is located under the “Invoices and Payments section” on the left of screen.
3. Enter “Identifying PO” details or select the drop down arrow and search for the PO number you want to invoice against. If you do not see the PO you are looking for, you can use the “Search” option at the bottom of the drop down box.

4. Enter the invoice number and date. Click "Save."

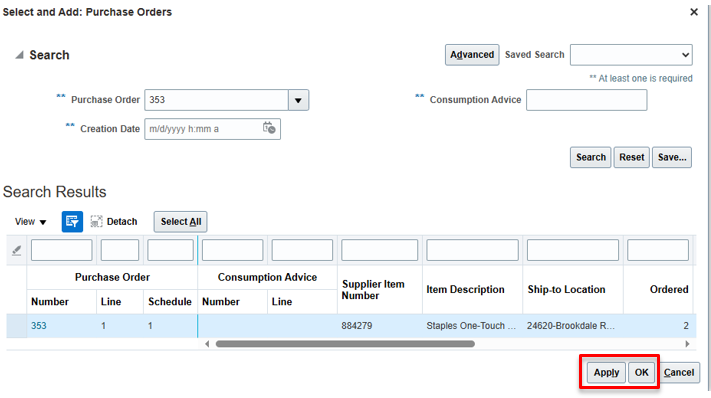
5. In the Lines section, click the “Select and Add” button.

6. Select the desired line by clicking on the line (Do not click the PO# hyperlink). Click “OK” and then “Apply.”
7. To add a freight line, click the “+” button and select “Freight.” Enter the ship to location, tax classification, amount and invoice line description. Repeat the process to add any additional charges by adding another line and selecting a different “type” from the drop down. To delete a line, highlight the line you wish to delete and select the “X” button.

8. When you have entered all your invoice information, click the “Save” button and then “Submit.”

Invoice submitted without a Purchase Order
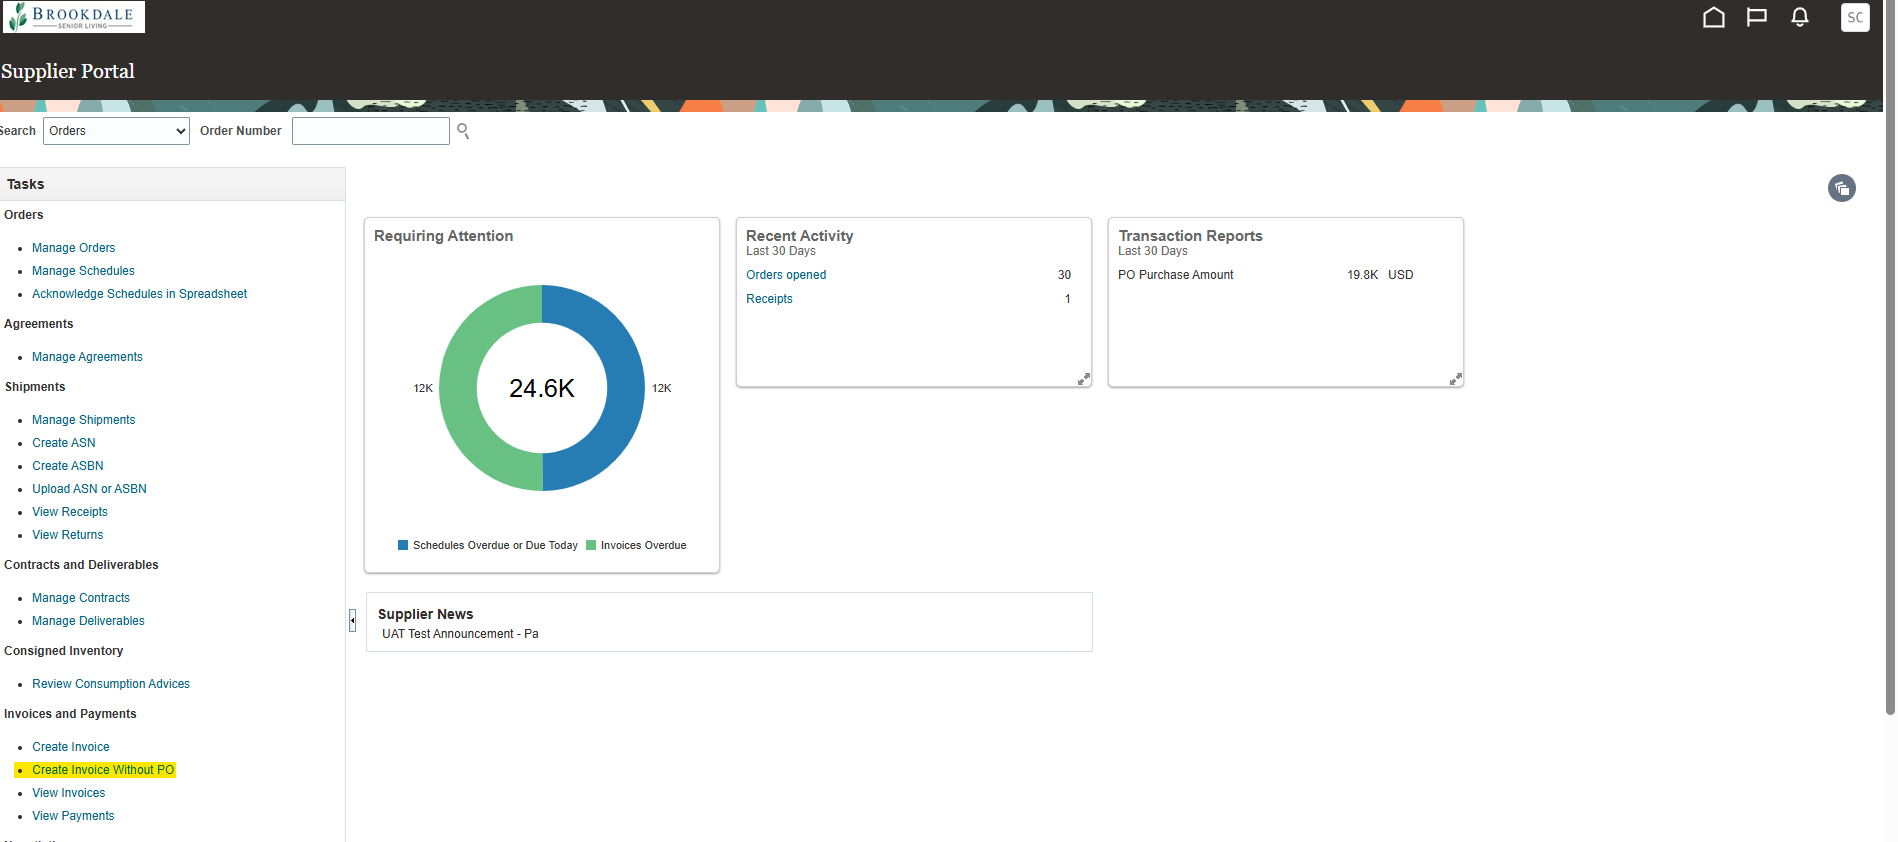
1. Log into Oracle and click on “Supplier Portal” tile.
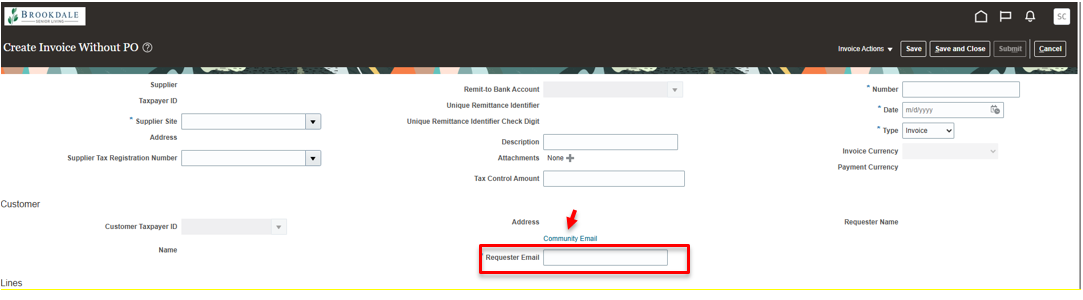
2. Click on “Create Invoice Without PO," which is located under the “Invoices and Payments section” on the left of screen.
3. Enter invoice number and date. Select the “Supplier Site” from the drop down.

4. In the “Customer” section, enter the Requester Email. If you do not know the requestor email, click on the “Community Email” link and search for the email for the community you are invoicing.
5. Click the “+” icon to add line details. Enter the information below. Note: The “Ship-to Location” is the Brookdale community you are invoicing.

6. When you have entered all your invoice information, click the “Save” button and then “Submit.”
